| Building a Splash Pool by Jacques Labuschagne |
This project was done in a small village in the Northern Cape in South Africa. Sand is in abundance since dry river beds run next to the town. Sand is free for the taking. We decided on the sandbag method for various reasons. Due to the remote location, it would be extremely expensive to get a swimming pool contractor to build us a pool. So, with the inspiration of www.earthbagbuilding.com, I realised we could do this ourselves. Making use of unemployed, unskilled labor, putting back into the community. Polypropylene bags were easy and light to transport to the location. No electricity was used, only hand tools. So it was the best decision in the end.
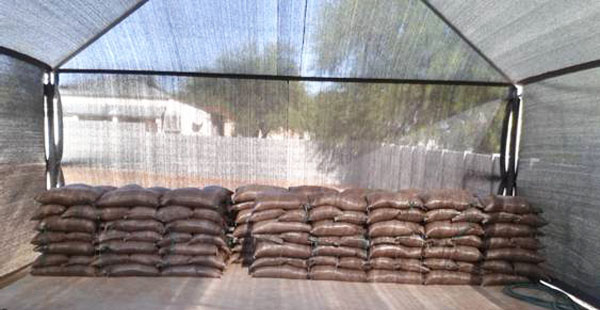
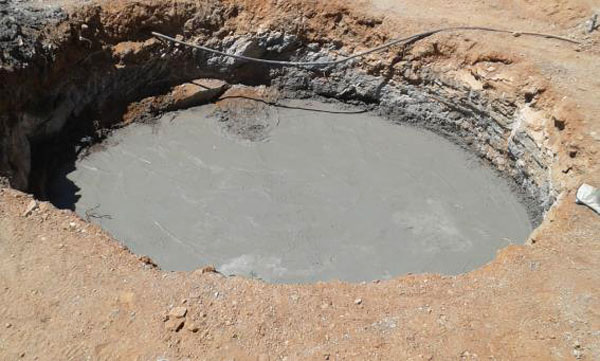
The bags were filled with pure river sand, sewn closed with nylon twine and stored out of the direct sun for preservation. This is 200 bags. We used 370 in the end. The hole was dug and cast with a concrete bottom. This was hard work... see the rock formations. We used spades, pick axes, crowbars, you name it! We lined the bottom out with bags, tamped them down, forming the deep end of the pool. Also backfilled the sides with river sand, layer by layer, adding water to settle the sand. From this point to the final plaster, it took 3 men 10 days and after that 2 men 4 days, working 8 hours a day.
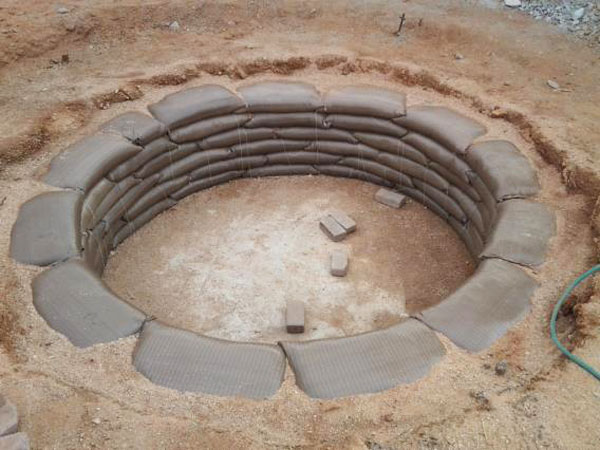
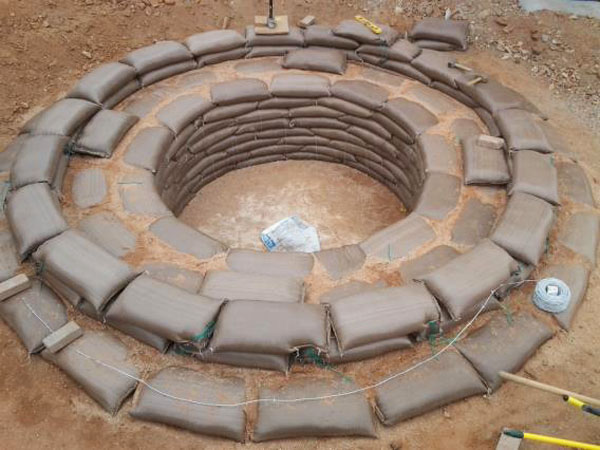
Expanded to the first layer on ground level (we leveled the area out before hand, see the heaps of sand top right picture), backfilling all air gaps with sand and watered it down to settle. This is where we decided to make the pool just a little bigger than originally planned, one extra row of bags on the periphery. Also, the homemade tamper can be seen next to the pick axe. 16 pound hammer with 8ply wood plank, few holes drilled and secured with 5mm binding wire.
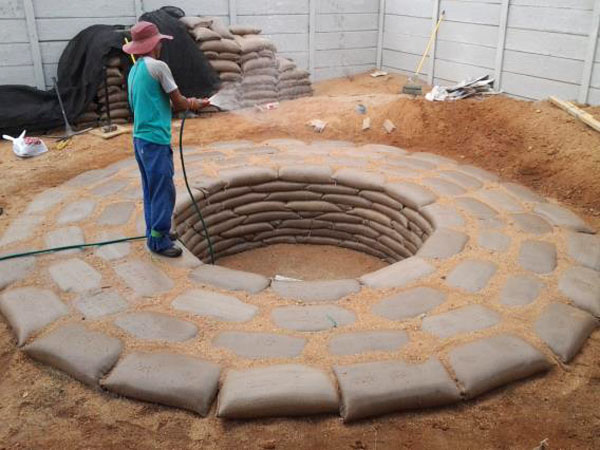
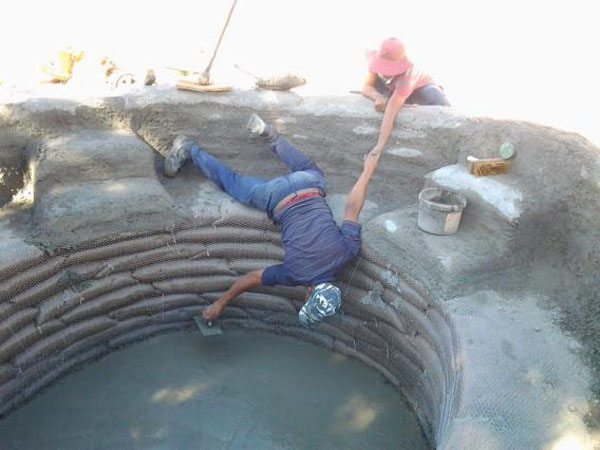
Started with the first rows above ground level, the beginning of the shallow end of the pool. Also forming the seating area and pool wall. Two rows of barbed wire used between all rows of bags. Four point barbed wire was used.
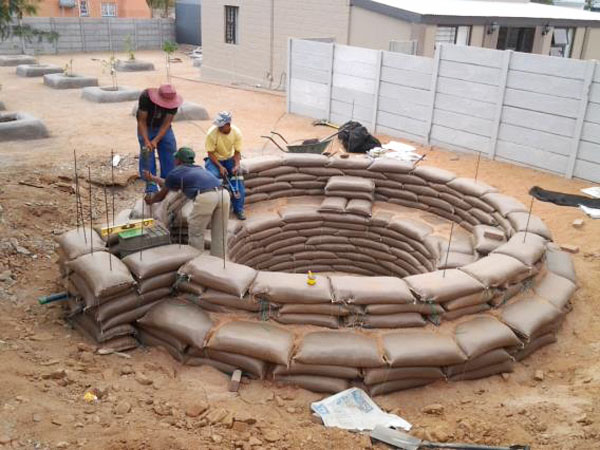
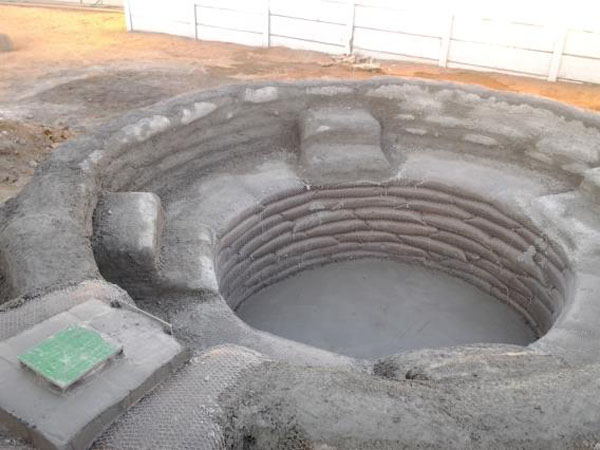
Building up the wall and also the step on the outside for getting into the pool. Here can be seen half the pool below ground and half above ground. Also the 8mm round bar driven into the bags at several points to keep them together a little better. Boxing was built for the weir skimmer. The weir skimmer was set up with a spirit level, suction pipe connected to the weir skimmer. Note in the back of the yard, raised tree planters also done with sand bags. This we did to hone the skills of the guys doing the job, since this was our first time using sandbags to construct. The steps in the pool are also laid out.
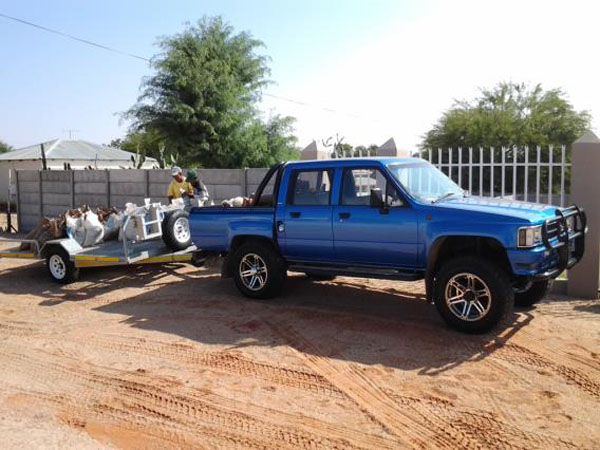
Another trip back from the river, started collecting more sand to plaster the pool. Also more filling sand to level out the pool area. We used the pickup truck and quad bike trailer to transport the sand in bags and then shake them empty over the boundary wall, next to the work site.
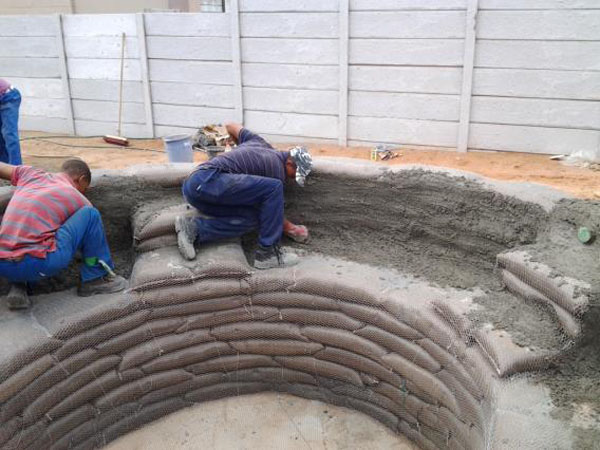
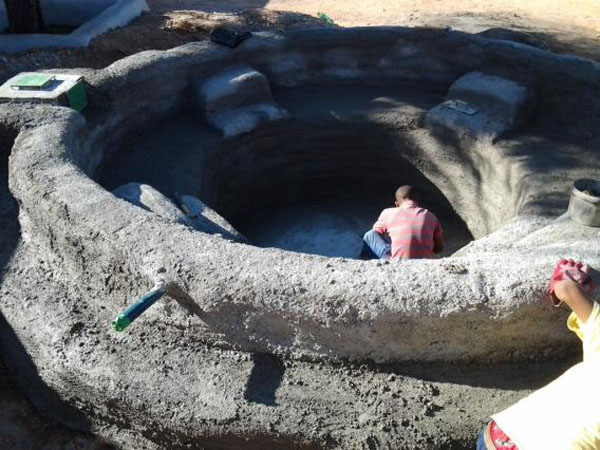
13mm chicken wire mesh was used to cover the bags, pinned down with 5mm binding wire, cut to 40cm lengths, folded double, driven in at 45 degree angles to keep the mesh tight onto the bags. Pre-plaster started, applied with rubber gloves. Mixture used was two wheel barrows sand to 50kg of Portland Cement. Take note the guys doing this work were unemployed, unskilled laborers. The training was done during the raised tree planters. They learned very quickly. Now they have acquired an excellent new set of skills.
Wire mesh was put down in the bottom as well and the floor was thrown with cement plaster, smoothing it out. Teamwork.
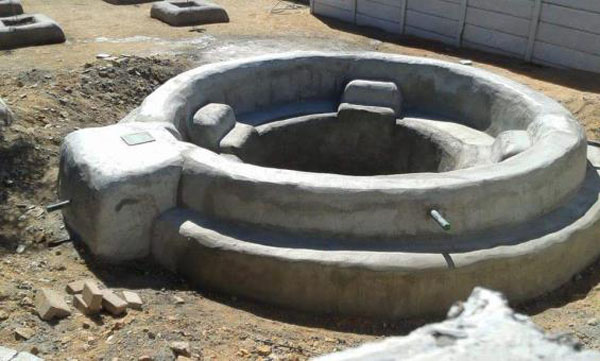
Continued with more pre-plaster, and the weir skimmer was cast around with cement. We used bricks to form the boxing at the top of the cast, then removed the bricks just after the cement had set, but still moist.
More pre-plaster continued with. Also the water pump delivery pipes can be seen below. Note the high pre-cast wall in this picture, for later shall be seen how we supported it better with sand bags.
The last of the pre-plaster going on.
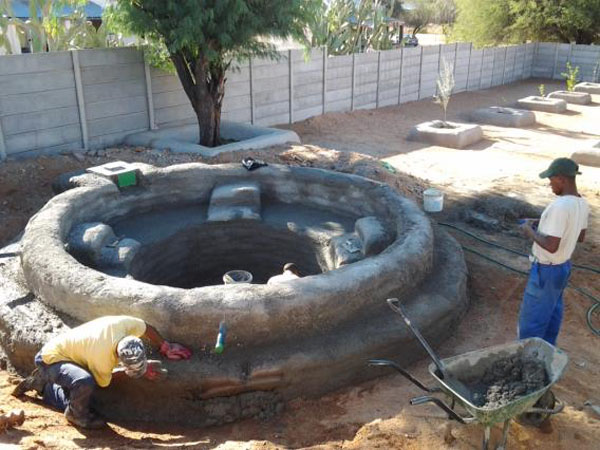
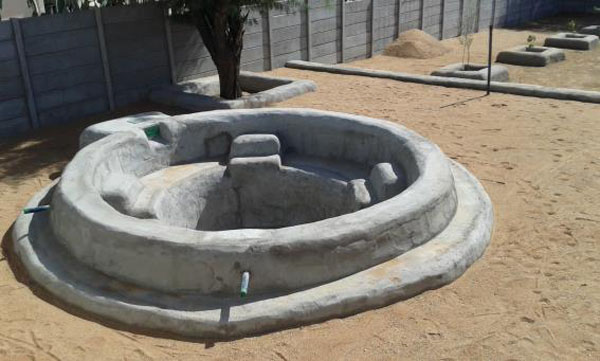
Here is a picture of the final plaster which was applied with a trowel, hence the smoother finish.
A four bag high retaining wall was built, and the pool area backfilled with river sand to level out the pool area. Now the pool is about 60% below ground. |