| Karl's Root Cellar from omelays.blogspot.com |
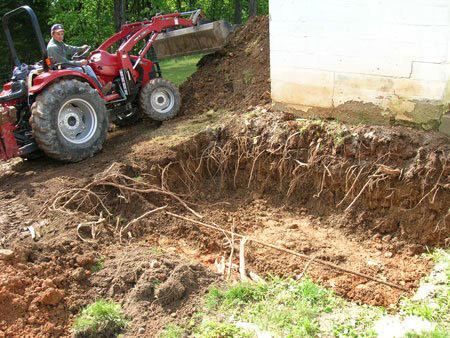
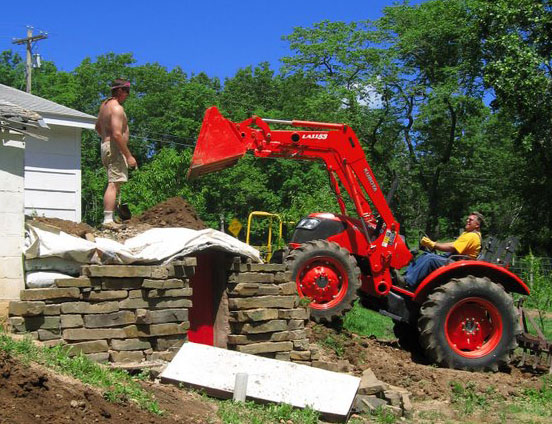
This is the begining of our root cellar. Our neighbor came over with his back hoe tractor. He dug the whole thing in a couple of hours. The roots were amazing. I could have never dug the thing by hand. He wouldn't accept cash for the work. He got a gallon of milk from us the other day and loves it. He also said that he would like to pay for milk in the future--we won't let him, of course. I rented a pipe threading die yesterday. The pipe that ran through the root cellar has been cut, new threads cut into it and rerouted. I installed a main shut off valve and hose faucet in the back of the cellar. It will be great for adjusting the humidity in the root cellar.
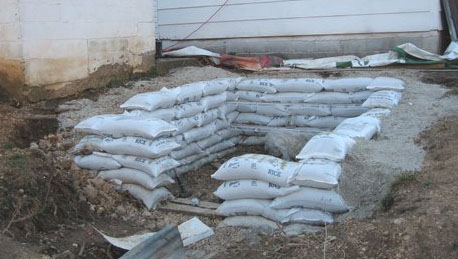
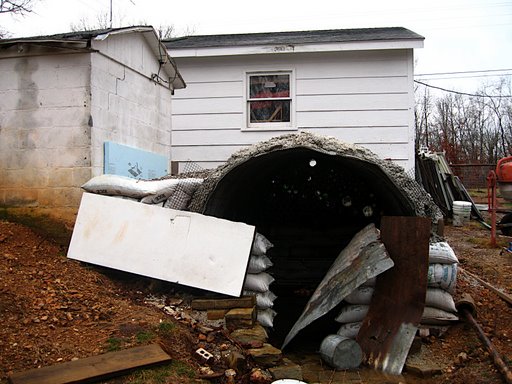
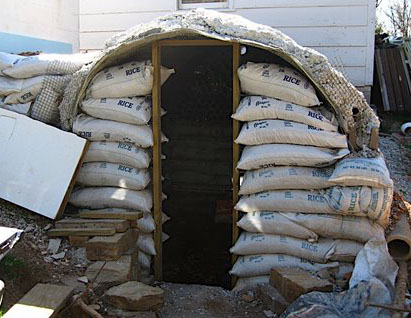
The root cellar is made from earth bag construction. I got the poly bags as a mis-print cheap. The nice thing about this method is they breath proper humidity and don't require a poured foundation. Tom came by and helped. He went and got his loader and filled the the bottom 3-4 inches with the creek gravel that we got the other day. We installed the the drainage pipe and ran it out away from the cellar.
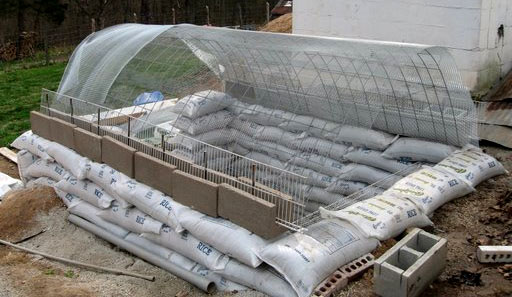
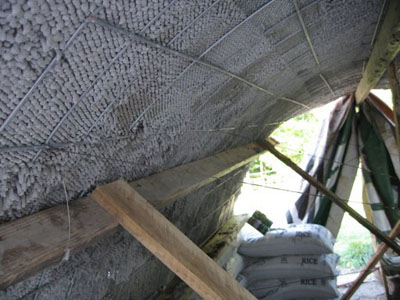
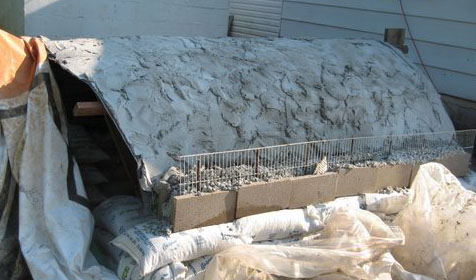
I made the roof arch from ferrocement. It was really fun to do but very labor intensive. I have found an auction house that has steel clad re-enforced insulated panels. I'll use them for the roof of the cellar. I will still use some steel angle as additional support and a three inch concrete steel re-enforced slab on top of that.
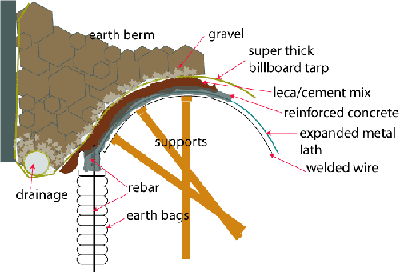
Here is the general plan for the root cellar. The U-shape on the top of the bags is a row of cement beam block that will hold the entire roof to the bags via re-bar pounded down into the earth bags. I opted for this instead of using bags to create my arch because I plan to pile a bunch of dirt on top of the root cellar and I believe this will be stronger. We'll grow some ground cover over the top of the root cellar and pump house
My main obstacle is the the door. I'll need to get the door and figure it into my entry. A visit to the habitat for humanity re-store might be my next move. I hope they'll have some insulated steel clad doors that I can cut shorter and install opening inward.
We had over an inch of rain during the last storm. Normally that'd have left standing water in the cellar but my drainage measures seem to be working so far--I shouldn't have any problems once all drainage measures are in place. This photo shows most of the progress that I have made. Additionally, there are a few more earth bags in the front and I have started the entry rock-work. I had to figure my entry a little differently since the water main needs insulation and enough cover to keep from freezing. That insulation and back-fill buffer encroached into my original plan.
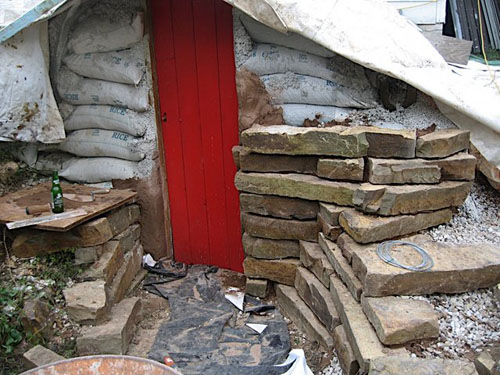
Today I made the door frame from pressure treated two by fours. I stitched the barbed wire through drilled holes. The barbed wire is laid between the bags and keys them together. This bonds the door jam to the bags nicely. I also drove re-bar across about mid way up as further structural integrity. Tomorrow I'll attach expanded metal lath to the door jam and wrap the walls. Then I'll mix some stucco and cement and finish the front walls. At the end of the project I'll rock the face with this collection of rock that I have had laying around for almost two years. A little more infill on the top and I'll be ready to cover the entire thing. The covering will be a water barrier (billboard tarp), a piece of old carpet and then the dirt. The dirt should mound clear up to the top of the pump house.
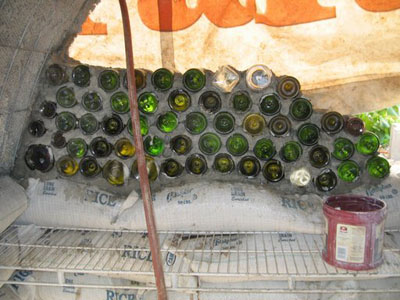
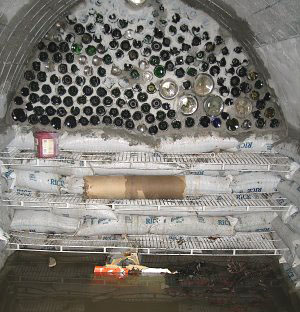
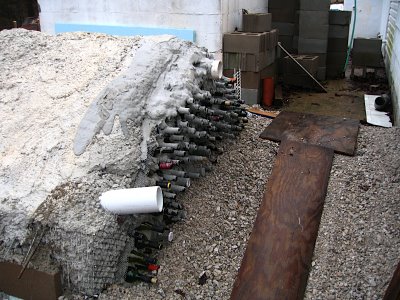
I put another tier in the root cellar bottle wall. I need more bottles and my wine consumption isn't up to the pace since I'd like to be completed by fall.
I worked on the root cellar today for the first time in recent memory. This project has been going on for almost three years. My back is sore. This root cellar is always the last thing that I get to work on in any given season.
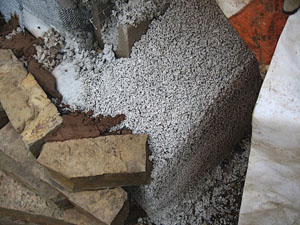
This is the styrofoam and cement mixture that I used along the north wall. As time passed it has hardened with surprising strength.
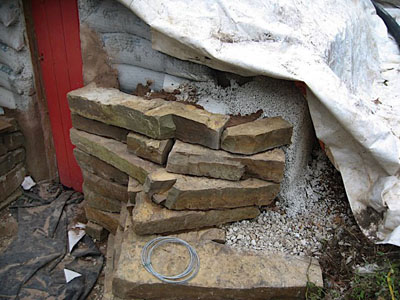
Real rock work requires a very dry mortar mix. If it is too wet when it splashes on the rock it'll discolor it. I tried to hide the mortar to make it look like dry-stack. I also used the mortar to stucco the portions of the walls that will show.
I bought some cement dye to color the mortar. I plan to keep it deeply hidden--deep mortar joints. There is always some mortar that shows so I hope to color it similar color to the rock. This stone is extremely heavy. I was gifted it from my old boss. They are imported from somewhere with heavier rocks--possibly another planet like Jupiter with a larger gravitational field.
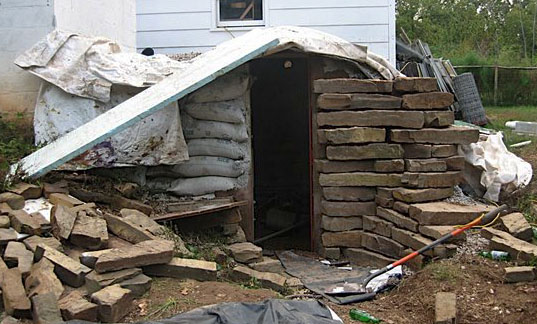
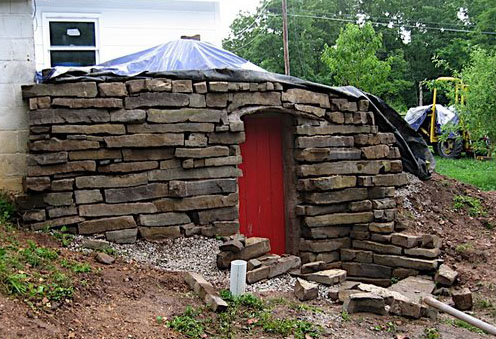
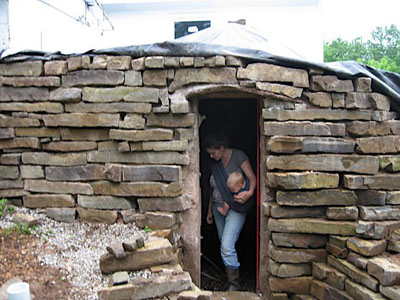
The stars aligned and I got to work on my root cellar. The right side of the door is almost complete. I plan to cover the entire left gap adjacent to the pump house with infill. Tthe old tin is covering the poly bags from sun damage--kinda. Over the past few days I have rocked most of the left side and altered the approach a little. That big landing rock weighed a ton. The root cellar is very close to being closed up.
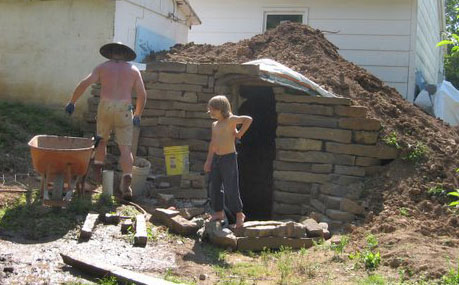
Well it happened I started to cover the root cellar. This has been a long time in the making.The dirt backfill should wrap around the high side of this wall sloping up the root cellar roof. If all goes as planned all of the water will shed out and away from the root cellar. Only the incline to the entrance will shed to the root cellar. That is one of our famous billboard tarps it will remain there and get buried. It will be watershed protection. I still need an old piece of carpet to cover the roof to help the dirt stick while plants get a chance to take.
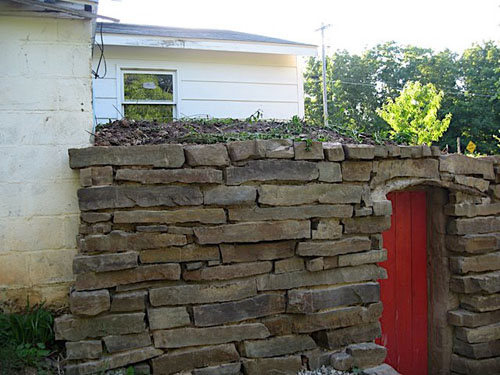
Oh it feels so good to be close to the end...I can almost taste the feeling of completion. I covered it with tarp to keep the soil from eroding before I have a chance to grade it and plant it with mint and violets.
|
