| Eternally Solar Earthbag Projects |
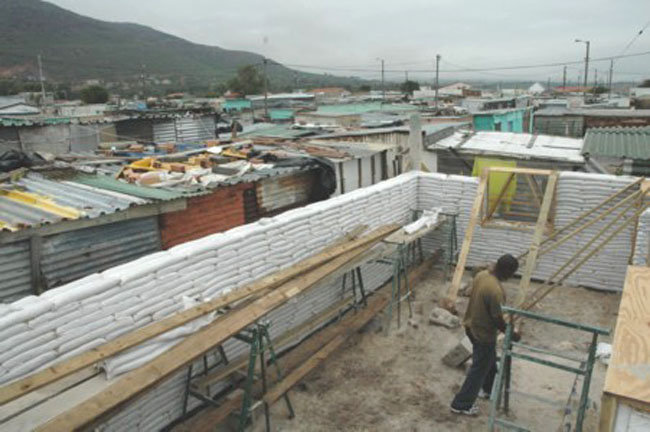
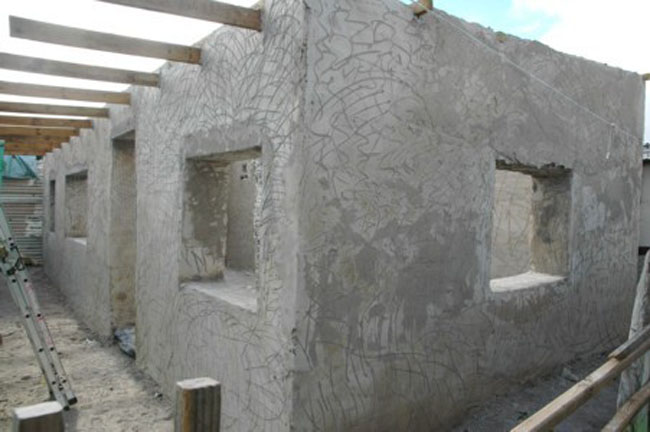
Masiphumelele Project
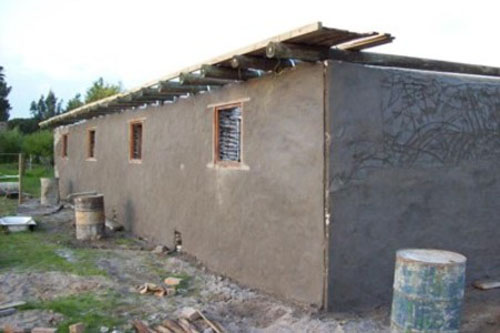
We hope this will give you the opportunity to view the technical aspects of building this sustainable home.
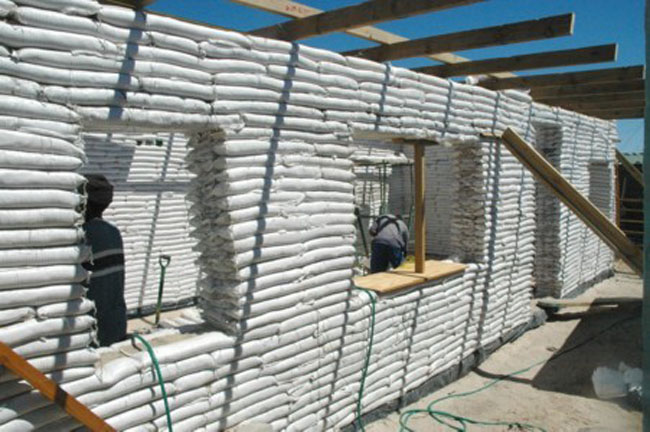
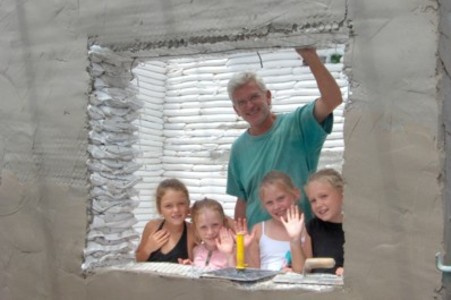
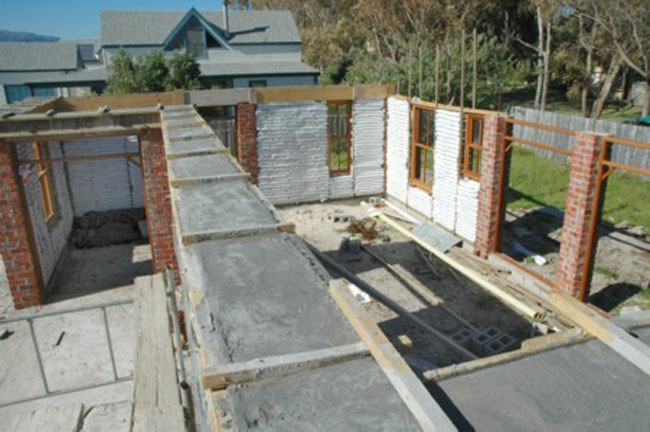
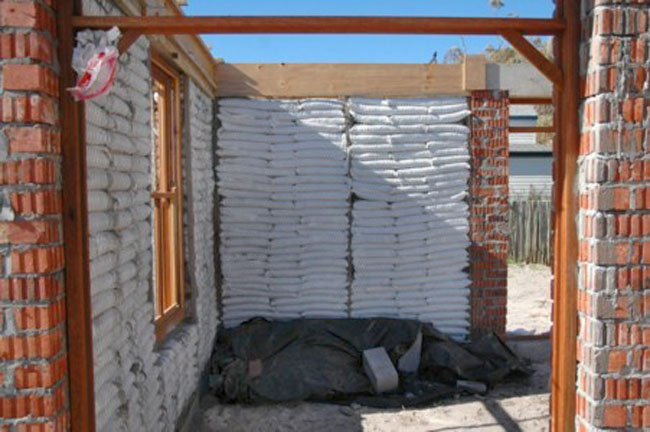
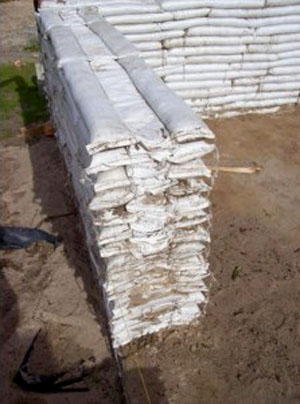
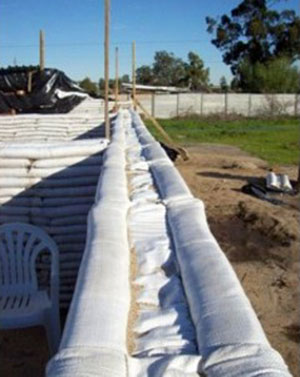
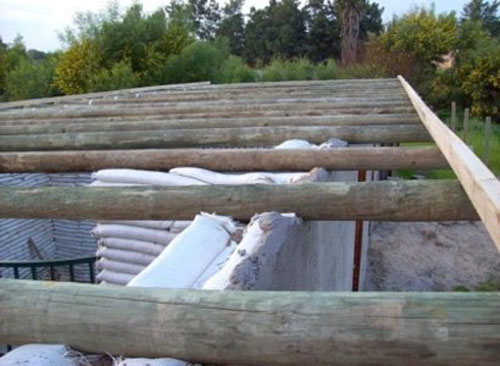
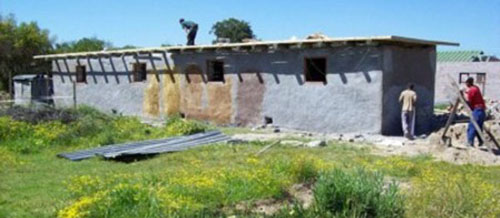
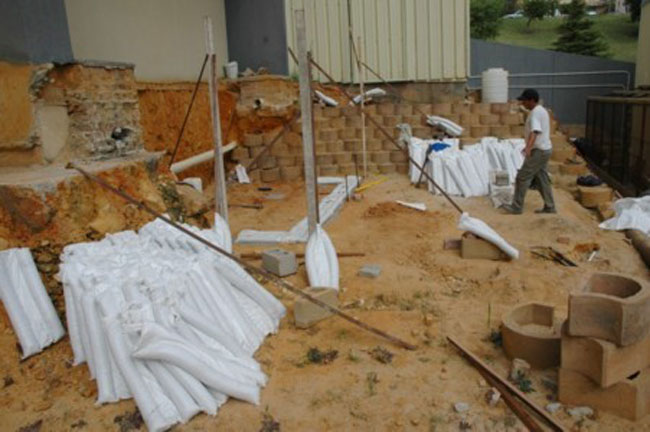
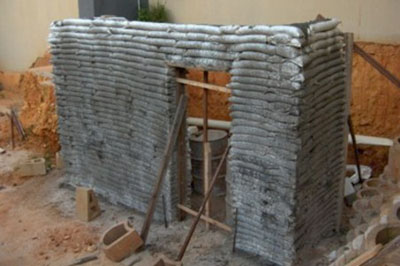
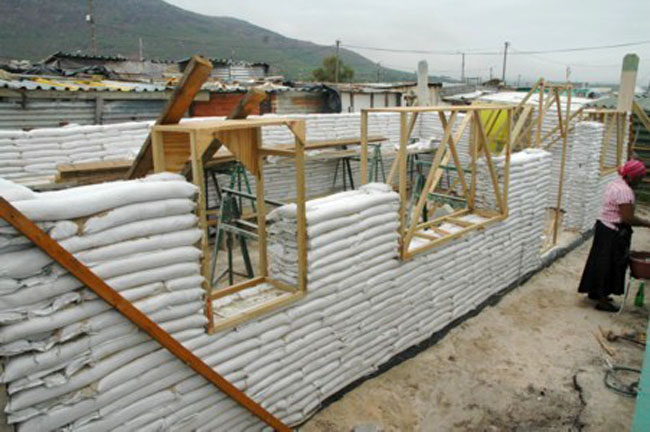 Walls going up
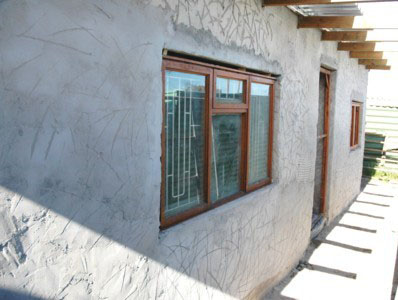
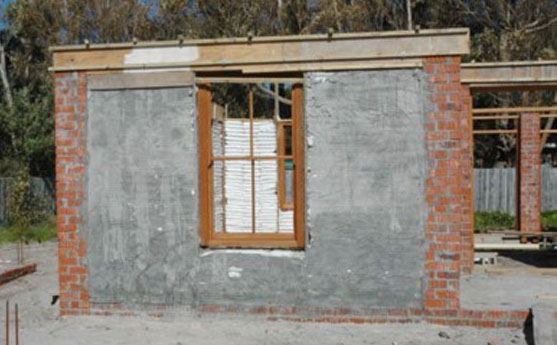
Kommetjie House
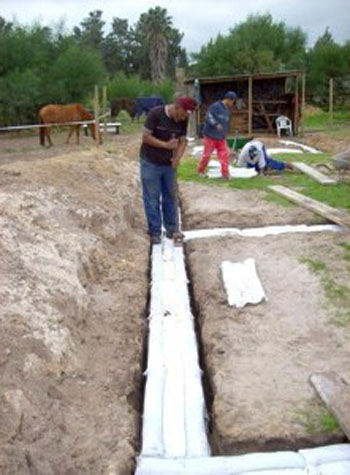
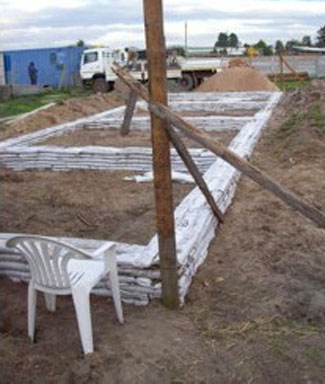
Kraaifontein Stables
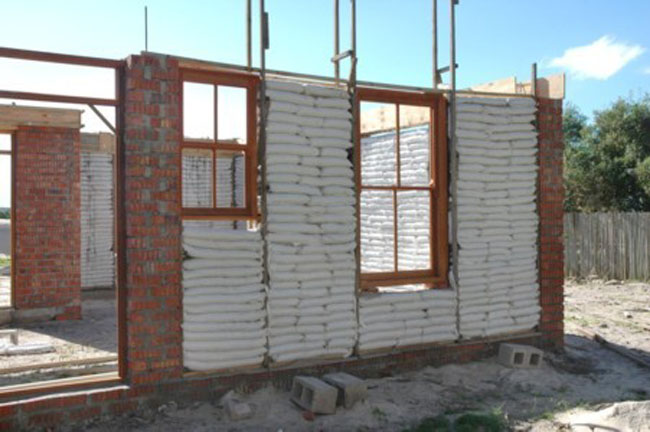
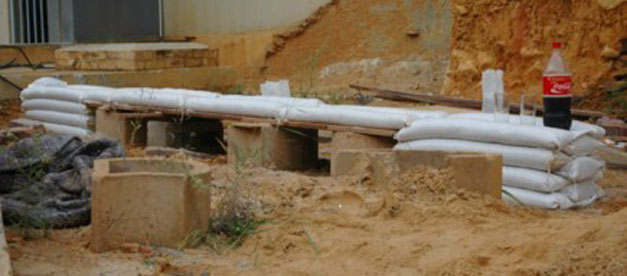
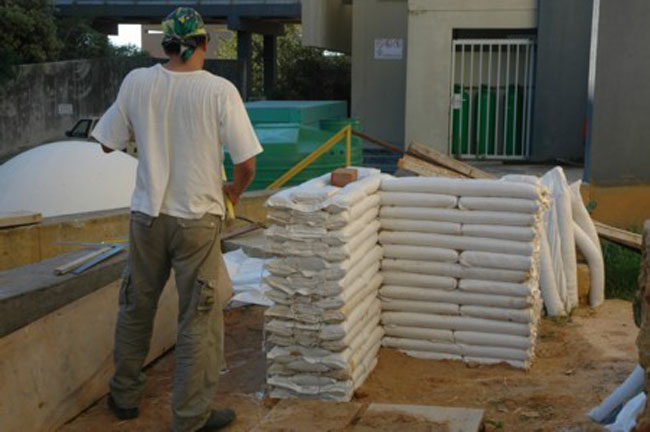
Test wall at Peninsula University of Technology
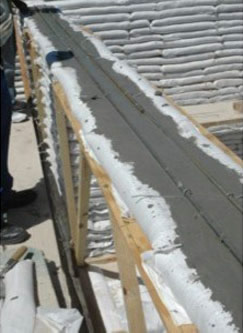
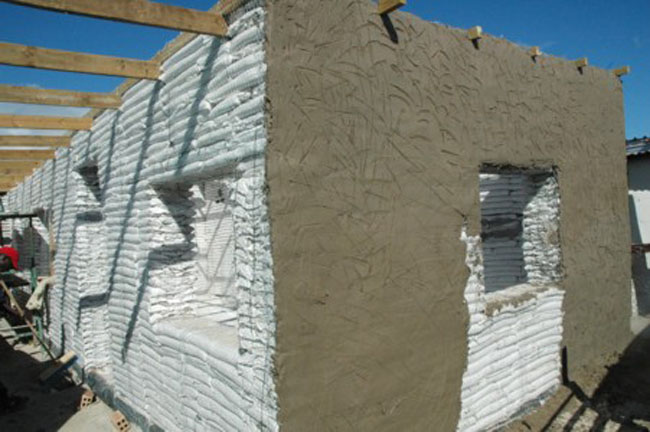
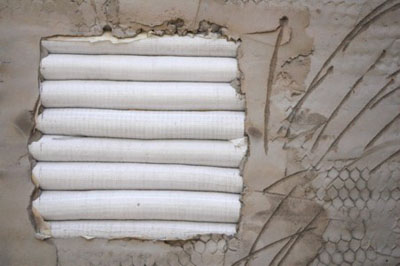
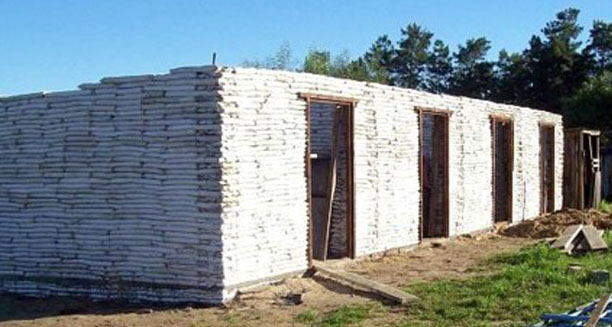
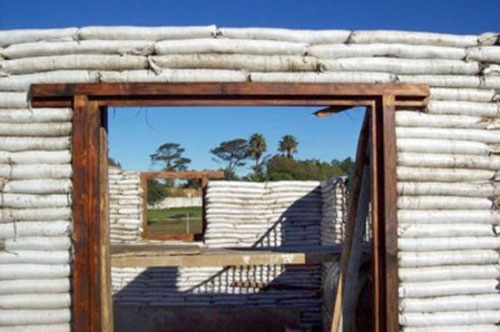
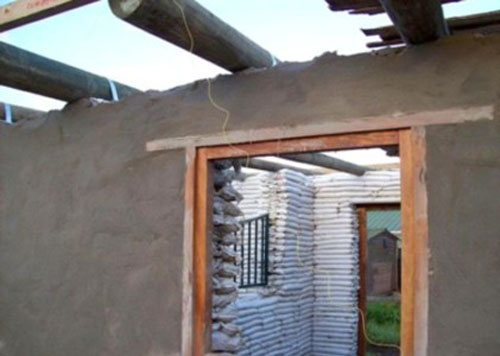
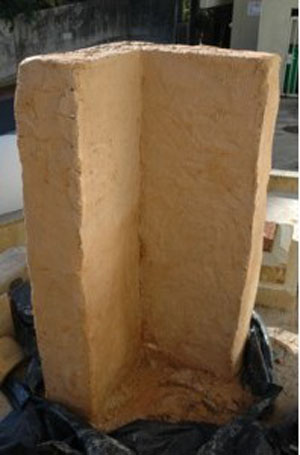
Dr. Johnny Anderton of has kindly supplied more details about their lintel and bond beam system below: The sequence goes with bag layer, then concrete fill in channel, then rebar and more concrete to encase rebar, then another layer of bags etc. The only thing about the bags here is that one should cut some holes, say 3 of around 110 mm diameter in the web of the bags, to create some vertical connection between the rows of infill concrete. Otherwise one has a series of layers of laminate (concrete) that are not connected with each other (no ‘glue’ between the laminate layers). These holes can be cut with scissors, but it is more efficient to burn 110mm square holes with a simple tool made of steel plate, which can heat and melt the holes in 10 bags on top of one another all at once and pre prepare all the bags for laminated beam sections of the wall. I think that one could build a beam even 6 metres in span, by doing say 8 layers or so. We have only tested to 3m by using 3-4 layers. The strength imparted by the plaster if of cement type is also significant, given its physical separation from the beam, thereby adding stiffness. Owen: For vertical reinforcement, why not cut a sharp angle on the end of the rebar and pound it in? Owen: How are bags sewn? Owen: How much do your bags cost and what quantities are they sold in? Owen: Can your bags be used for round structures? For instance, the outer tubes could be partially filled with lightweight insulation such as perlite so they can be shaped into gentle curves. What’s the smallest practical radius? We have the polyprop tube material specially woven to the width we have found to work the best for our Earthbags. The flat width (tube flattened therefore 2 layers) is 420 mm. The bag is 900 mm long and is stitched lengthwise into 3 equal compartments, each therefore is 140 mm wide. As a tube, this results in a diameter of about 90mm, which when in a wall and slightly flattened means that the lift of each row is about 80mm. The end of the bag is folded to retain the contents, approx a 150 mm fold resulting in a usable filled bag that is about 750mm long, by 320-340 wide. The plastered wall ends up being around 380 -400 mm wide. The fill in the tubes is compacted if loose earth or clay mix, or damp sand. Only if dry sand is this not necessary. It is easy to compact while in the filling device, simply with a broom handle or similar. No need to be too energetic as the fill is compacted while building the wall. “The design of the bags with the central channel allows for a lot of variation in approach to structural elements in the wall, which can be adapted depending on strength requirements. We have used unstabilised sand only in the wall in our pilot and other projects, in both tubes and channel. The resultant structures are extremely sound and have been tested to destruction for lateral loading, way surpassing international Agrement requirements. The highly compacted sand (created through the weight of the wall above) together with the plaster skins, forms a dense laminate on either side of the lightweight core just as in a structural insulated panel (SIP). In seismic areas, I would use columns and horizontal stiffeners. How do you build these? Where the plan specifies a column, you end the rows of bags the specified distance apart (say 300mm). This gap in the wall is where the vertical rebar comes up from the foundation. This vertical rebar is tied to horizontal rebar that is cast into concrete in the bag channels every 7 bag layers or so as you build the wall. These horizontal stiffeners can run into the bag wall just a short distance either side of the column, or can run right around the structure, creating a bond beam at all these levels. Once one has built say 1.5 m of wall, you shutter on both sides of the wall, and pour concrete into the space created by the shuttering and between the wall ends. You therefore end up with a cast column and horizontal beam. These can be created anywhere in the wall, whether in a straight section of a wall run or in the corners of the structure. You thereby create a very lightweight reinforced concrete ‘lattice’ integrally in the wall. This is a much more engineered approach than using barbed wire and I believe is much stronger. It would be a good idea to use structural foam on the inside of the shuttering, so as to separate the column both thermally and structurally from the plaster skins. This means that the stiff skeleton of columns and beams is not directly connected to the flexible element (bags and sand fill) nor to the plaster skins. It is desirable to avoid having elements in the wall of different rigidity in direct contact. And this would allow the mass of the wall to vibrate at a different frequency to the skeleton, absorbing the vibrational energy. With the appropriate engineering input, I believe that a massively strong but flexible wall can be created, which will withstand significant seismic force. And 2 story buildings or more could be created (We’ve not done anything more than single level thus far.) Having said that, in our non seismic area, we have used unstabilised sand and no vertical or horizontal stiffeners (until ring beam or lintel height). So the wall to that upper level is purely the bags and sand, no barbed wire, steel, concrete or any other material. We don’t even used mesh in the plaster. This is how our test wall was built. Easy to build, nothing to corrode, and plenty strong. The corrosion issue concerns me, as there is always an element of residual moisture in earth walls, and any metal is bound to corrode eventually. My feeling is that this sort of technology should be available to all who need it. Having said that, I am sure that more innovations are made/discovered if the originator can be reasonably sure that costs of developing the idea, which can in some cases be very high, are covered. In this case we still have not been able to raise enough funds to put the system through the official Agrement International building code tests. This will cost in the region of USD $ 70 000. So my response to the issue of patent rights is that we would appreciate a donation towards a fund that will allow us to further develop the system, have a complete rational design compiled by a structural engineer and then have it officially tested and certified. Once this is done it will set a standard for other building code authorities in other countries to follow. So I would just ask that anyone who uses and benefits from the system considers helping towards it benefiting others by supporting its official development. Rather like open source software with a voluntary donation ‘honesty’ system. |
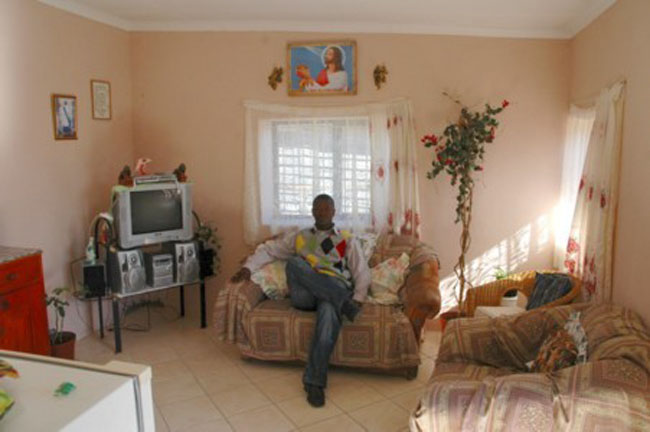
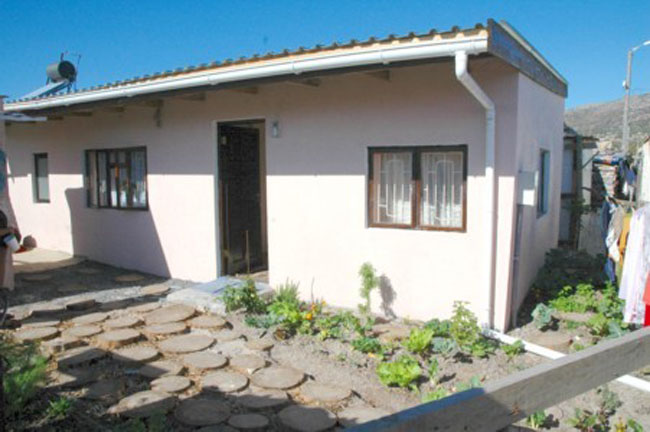
 Lisa and Shepherd's House in South Africa