| Sandhill Builds A Greenhouse! |
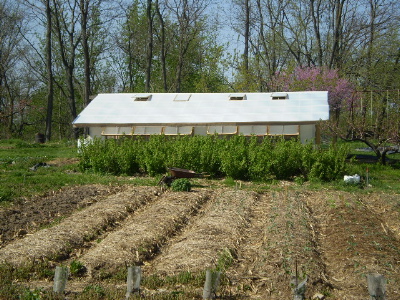
A little history.... As you can imagine, in the many years of prioritizing growing our own food, we have often fantasized of extending the growing season. How lovely it would be to have fresh greens through the winter or that first ripe tomato in June. Or wouldn't it be nice if we didn't have to shuffle our rosemary, lavendar and lemon tree in and out throughout the year. Well, we made do with cold frames for many years but in the summer of 2007 we determinedly coalesced on a design and found the time and labor to move it along. We chose for our greenhouse site a 30ft x 20ft area, centrally located among our gardens, with good southern exposure. In addition, we could take advantage of the large black currant patch to provide summer shade and winter wind break. The site has very fertile soil, having been used for strawberries and brassicas for the past fifteen years.
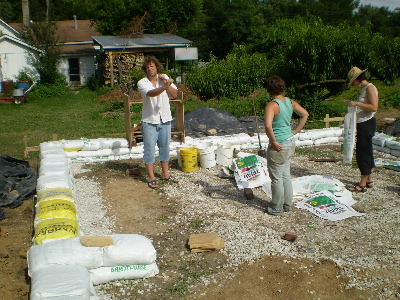
First, we relocated our red currant patch to make room for our north wall, shown here along left side. We then dug up the top 12 inches or so of our shallow trench foundation. That black soil was set aside for future raised beds within the greenhouse.
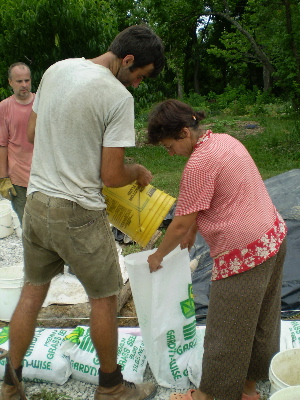
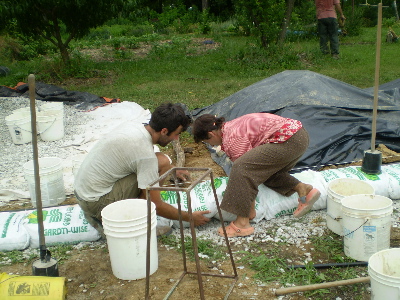
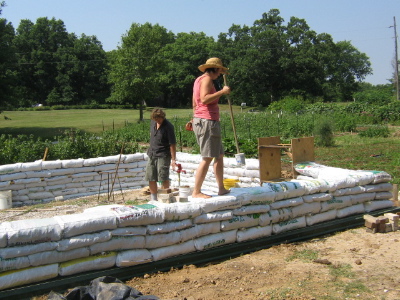
After the trench was dug and filled with rock from a local quarry, we began the laying of the earth bag walls. Here we had great help from friends at Dancing Rabbit and summer visitors. After each bag is filled and tamped, it is laid into place snugly along the wall.
After each course, we "walk the wall" with our tamper to get it level. As you can see the north wall has fewer courses than the south wall. We learned that it would have been better to first level the whole site than to make the adjustments while bagging.
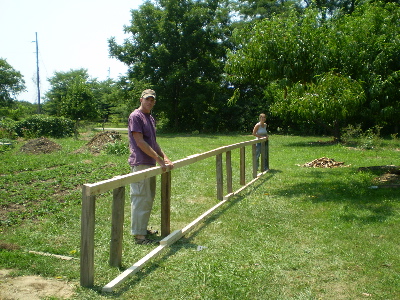
After three days of earthbagging, we are ready to begin framing the top part of our walls. In the next week, the north and south walls are built on the ground while we harvest and remove the bark from black locust trees to serve as center posts for the pitched roof. 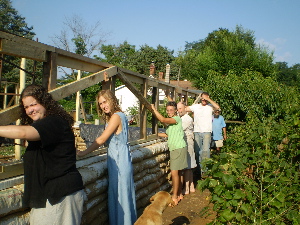 Here's the south wall going up! Now you have to use your imagination: a north wall, a ridge beam, 16 ft rafters sloping north, 10 ft rafters sloping south. The east and west walls are filled in. For those of you familiar with architectural terms, it is called a "saltbox" design. It's getting to be late July and the weather is hot. We decide to wait on the roof so that the cobbing work on the earthbags will be comfortable.
Here's the first layer: local clay, local straw, local sand and a little bit of local manure for good stickiness. This coat filled in the gaps between the earthbags and provided a good, rough surface for future coats.
Here we see the wooden framing (milled mostly from our trees) with locust posts. The cob window is in progress (above the door). The side walls and roof are a combination of greenhouse plastics: polycarbonate stiff sheets and polyethylene rolled plastic.
Here we have added our water collection on the north side. The walls are covered with oak siding (left over from one of our residences). We are not ready to expose the earthbag walls to winter weather as we would like to add a lime plaster finish coat.
In the background, we see the light straw clay wall which insulates the north, northeast and northwest sides of the building.
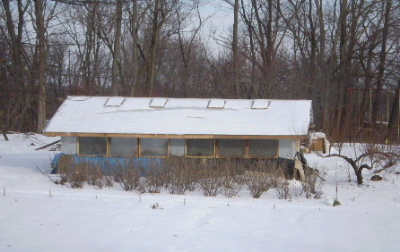
Here's a winter view from the south.
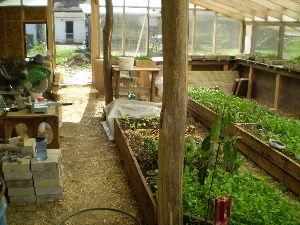
We've been eating lots of lettuce thinnings, arugula, tatsoi, bok choy and spinach. We have our brassicas, onions, tomatoes, peppers, eggplant, flowers, herbs and more lettuces in seedling flats. We even have dwarf citrus plants!
The walls with shelving have gotten a final plaster coat to protect from water dripping.The overhead vented louvres open when the temperature gets to 70 degrees. Two more windows to trim out and some gate latches to hold the doors open. Then, when there is time more plastering. |
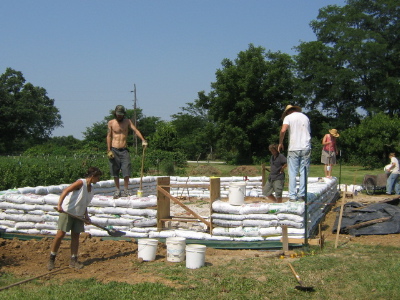
 Here you see the crew and the blocking for the east door.
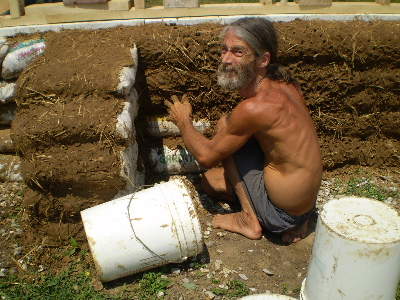
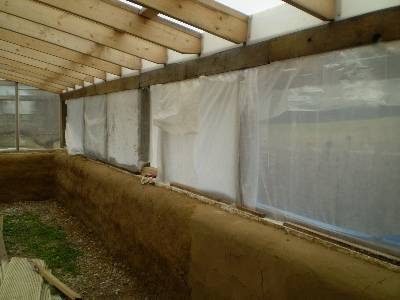
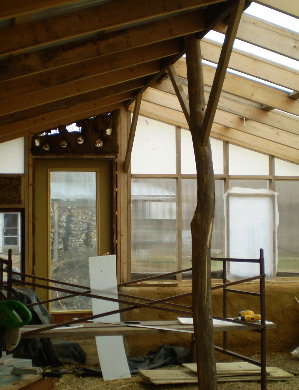 Our second coat of plaster was composed of the same materials
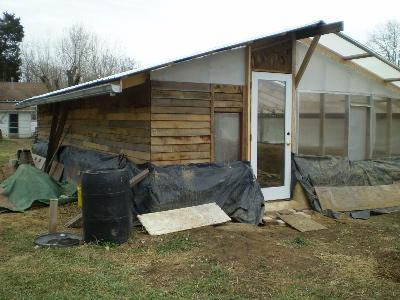
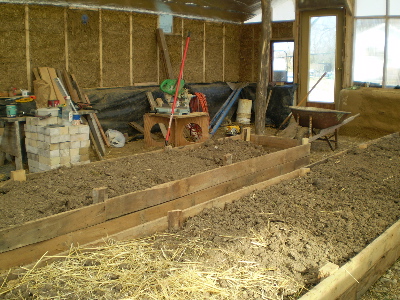
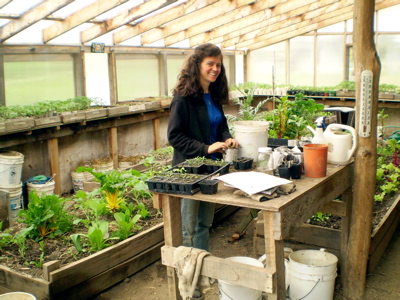
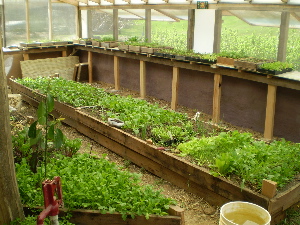 And here we are in late April 2008, the shelves are full with seedlings,the beds have lots of spring greens.